If you want beautiful trees, understanding how to trim and prune them is essential—and that means knowing how to cut a branch off a tree the right way is also essential.
Proper pruning yields several advantages. It not only allows you to control the shape and appearance of the tree but stimulates better growth and helps the tree resist disease, pests, and more. While not as common, other concerns may also arise if you neglect to prune your trees for too long. Imagine how disastrous it would be if a huge branch fell on your deck, car, house, or worse, a passerby.
Fortunately, pruning a tree is relatively easy, especially with our experts at Lineage Tree Care are on your side. We’ve put together this quick guide on how to cut tree branches to walk you through the basics, but if you need a hand, don’t hesitate to call us.
What Is the Best Time of the Year to Prune a Tree?
Before we get started on the how it helps to know when to prune. Pruning your tree during its dormant stage in the winter will stimulate growth once the warmer months arrive. Common tree pests are also less active in the cold. However, keep an eye out for infected branches all year round to ensure that your trees are always in tip-top shape.
Gather Your Tools
What you’ll need to cut a branch off your tree will depend on how big the branch is and how high up the tree it is.
| Branch Diameter | Best Tool |
| Under 1” | Hand pruner |
| 2” to 3” | Lopper or pole pruner |
| 3” to 4” | Pruning saw |
| 4” to 5” (or branches over 25’ up) | Rope Saw |
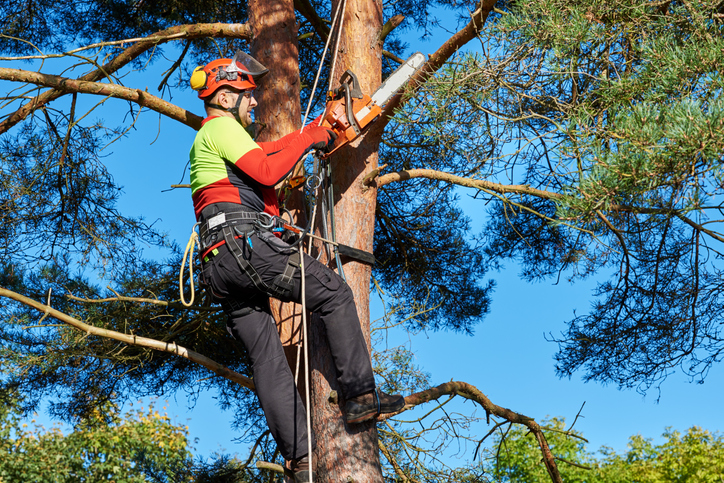
| Over 5” | Chain Saw |
You’ll also need other equipment, such as protective glasses and gloves.
How To Cut a Branch off a Tree in 4 Easy Steps:
Step 1: Assess the Tree From Top to Bottom
The first step in the pruning process is a thorough inspection. Check each branch, then identify which ones are compromising your tree’s overall beauty and appearance. Carelessly removing branches will do more harm than good.
Unless you’re targeting limbs for aesthetic reasons or to clear a view, aim to thin dense areas to ensure good light exposure to the remaining branches and remove:
- Suckers (branches sprouting from the base of the tree)
- Infected or diseased branches
- Damaged or hazardous branches
As you complete your assessment, plan out which branches you will cut. You can mark them with chalk, paint, or ribbon if you like.
Step 2: Cut Smaller Branches
For smaller branches that you can cut with hand pruners, make the cut at a 45-degree angle a quarter inch from a bud pointing in the direction you want new growth. No additional care is necessary.
Step 3: Cut large Limbs
Cutting a larger limb is a bit more complex, and doing so incorrectly can leave the tree prone to disease and pests. It may even kill the tree. You will need to make three cuts:
- Notch cut: About 2-3 feet from the trunk of the tree, cut a notch about a quarter of the way through the branch. This cut prevents the bark from splitting.
- Relief cut: A few inches beyond the notch cut, cut through the branch completely to remove the weight. This step ensures the final cut is clean so that it can heal properly.
- Final cut: Locate the branch collar. It will be a bump where the bark transitions from trunk (rough) to limb (smoother). Make your cut as close to the collar as possible without cutting into it. Aim for a 45-degree angle away from the trunk to prevent it from collecting water.
Step 4: Watch for Problems
While there’s no need to apply anything to the cut, such as tree paint or sealant, watch out for signs of disease and damage. The earlier such issues are caught, the higher the chance you won’t lose the entire tree.
Need Some Help Trimming Your Trees?
If you don’t have the time nor resources to cut your trees, you can count on our professionals at Lineage Tree Care. We have specialists equipped to handle all your tree care needs. Whether you need a single damaged branch cut or an entire orchard trimmed, we have you covered. Call (425) 800-8015 to see schedule a consultation.